How Nikki Lee Created Emma Roberts' Bridal Champagne Blonde & Soft Blowout
By Steph Bong·Published: August 11, 2026
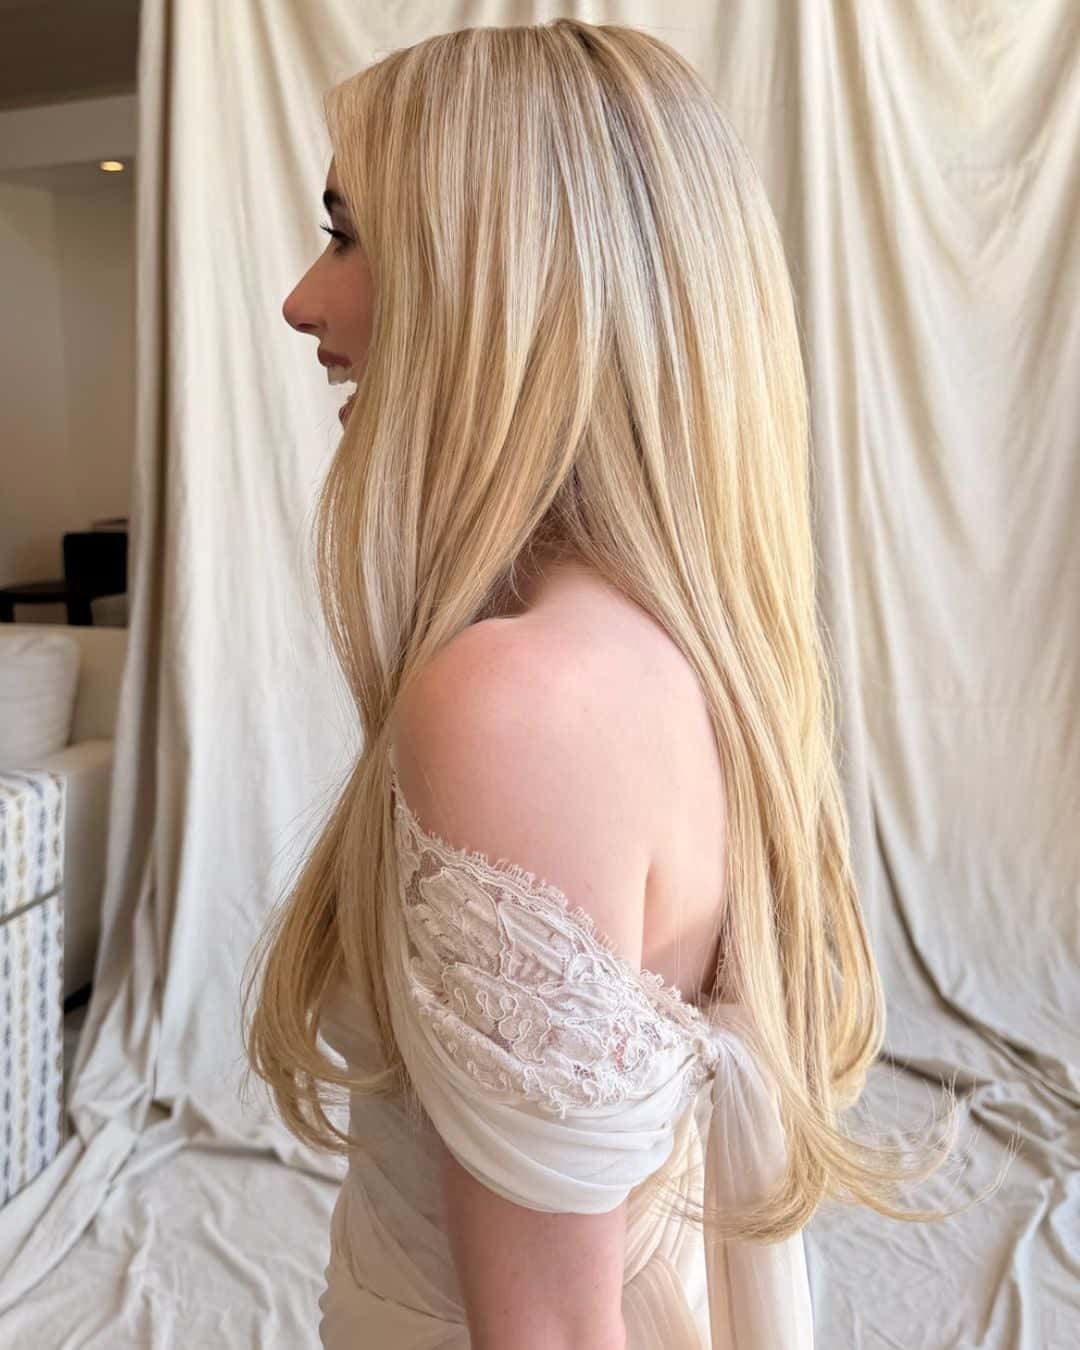
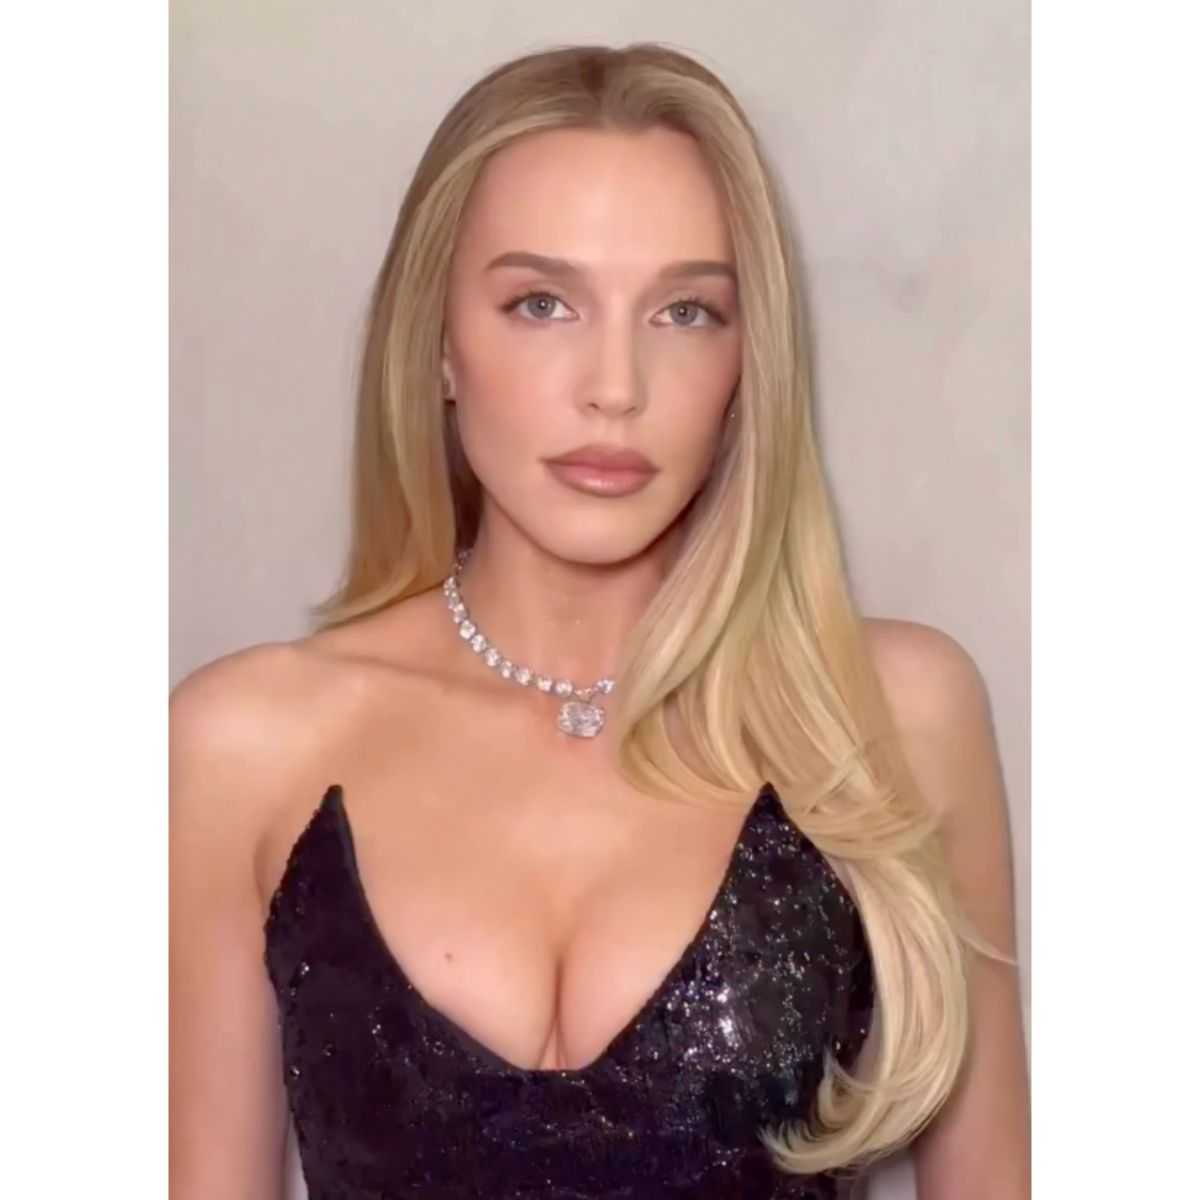
Emma Roberts’ bridal hair may have looked effortless, but longtime hairstylist and Nine Zero One Co-Owner Nikki Lee (@nikkilee901) had been planning the transformation for nearly six months. The vision was timeless and elegant: a champagne blonde paired with a luxurious blowout that complemented her custom Monique Lhuillier gown without feeling overly styled.
For Nikki, the six-month approach is one of the biggest lessons stylists can take from Emma’s bridal transformation. “Wedding hair should never be an afterthought,” she says. “Color, hair health and extensions all require planning.” Here’s how Nikki created Emma’s bridal blonde, including the exact formulas and step-by-step technique behind her soft wedding-day blowout.
Emma’s Bridal Blonde Was 6 Months In The Making
When Nikki began planning Emma’s wedding color, the actress was wearing a permanent copper-red shade. With her bridal hair in mind, Nikki started transitioning the color months in advance while prioritizing hair integrity. She first took Emma from copper red to a warm blonde for her role as Madison Montgomery in “American Horror Story.” After months of filming and frequent heat styling, her blonde needed extra care before Nikki could create the final bridal shade.
For clients considering a major color transformation before their wedding, Nikki recommends starting several months out. This gives colorists time to make gradual changes while maintaining the health and integrity of the hair instead of trying to achieve the final result in one appointment.
Two Weeks Before The Wedding, Hair Health Came First
Two weeks before the wedding, Nikki began preparing Emma’s hair for its final color transformation—but changing the color wasn’t the first priority.
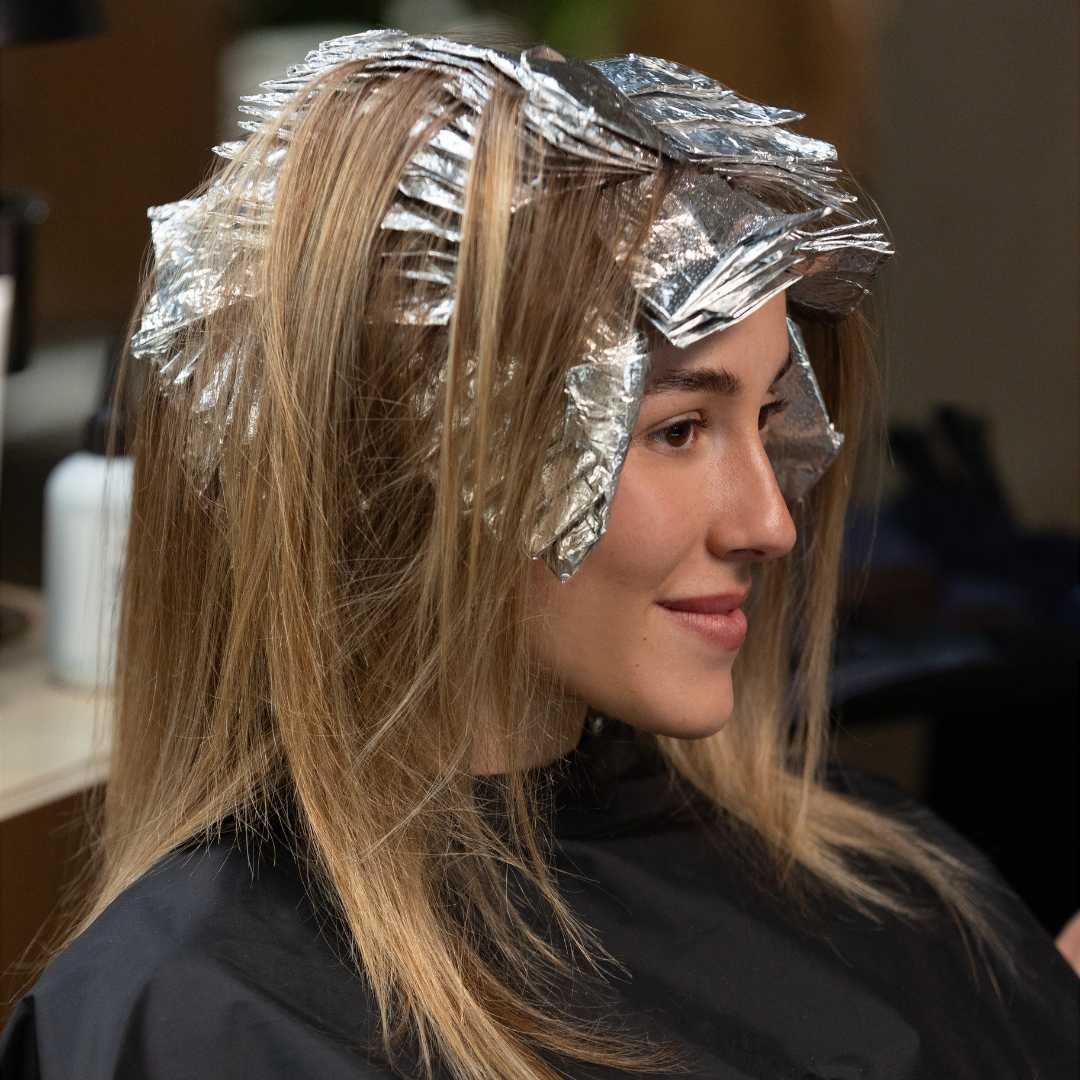
She started the appointment with Wella Professionals Ultimate Repair to nourish and strengthen the hair before moving into the color service. Nikki then alternated her foil placement using Wella Professionals BlondorPlex 9 to softly lift the hair while helping maintain its integrity, alongside delicate Wella Professionals Color Touch lowlights to build seamless, natural-looking dimension.
“The goal wasn’t a bright, trendy blonde,” Nikki says. “We wanted something timeless, vintage-inspired and effortlessly elegant. The subtle dimension gives the color depth while the overall finish feels incredibly natural and refined.”
Nikki finished the color with an all-over Wella Professionals Shinefinity gloss to refine the tone and leave Emma’s blonde with a healthy, luminous finish.
Bridal Color Tip: Nikki recommends scheduling a bride’s final color appointment one to two weeks before the wedding. This allows the color to settle naturally and gives the stylist time to make subtle adjustments without making major color decisions during wedding week.
Great Lengths Extensions Added Soft Fullness + Movement
To complete the transformation, Nine Zero One Stylist Lisa Satorn (@lisasatornhair) applied Great Lengths tape-in extensions to add soft fullness, wispy length and the movement needed for Emma’s wedding-day style to photograph beautifully. Rather than creating dramatically longer hair, the goal was for the extensions to feel completely like Emma’s own hair. Lisa used a mix of 20-inch Great Lengths Essenza and Aria tape extensions in a custom blend of four shades: 64/61 Rooted, 68/23 Rooted, 09 and 62.
The Wedding-Morning Gloss That Perfected Emma’s Blonde
One of the most important finishing touches happened the morning of the wedding. Before styling, Nikki refreshed Emma’s blonde with a final gloss to perfect the tone and maximize shine. The formula subtly neutralized unwanted warmth while enhancing luminosity without changing the overall color, leaving Emma’s blonde healthy-looking and reflective before styling.
Wedding-Morning Gloss Formula:
Wella Professionals Shinefinity 10/6 + Clear with Bottle Activator
How To Recreate Emma Roberts’ Soft Bridal Blowout
“We wanted the finish to resemble a luxurious blowout rather than a traditional curled hairstyle,” Nikki says. The goal was for the hair to be soft enough to move with the wind, dance effortlessly throughout the night and feel completely touchable from every angle. “It was important that the hair never looked like a curled style,” she adds. “It simply looked like the most beautiful version of her own hair.”
Step 1: Prep For Movement
Since movement is the priority, use just enough product to support the style without weighing it down.
Apply a small amount of Wella Professionals Ultimate Color Leave-In Mask through the midlengths and ends for lightweight hydration and softness.
Spray R+Co BLEU Root Booster at the roots to create lift and support.
Apply R+Co BLEU Magnifier through the midlengths and ends for light hold and structure while maintaining a natural feel.
Step 2: Create The Blowout
The blowout is the foundation of the entire style, so focus on natural body rather than excessive volume.
Using a round brush, blow-dry the hair section by section, creating smoothness, balance and natural body.
Keep the finish polished with effortless movement rather than perfectly sculpted.
Step 3: Set The Shape With Oversized Sections
Instead of creating traditional curls, use oversized sections to preserve the shape and movement of the blowout.
Using a 1¼-inch Bioprogramming Hairbeauron iron, work in very large sections, quickly passing the iron through the hair to create gentle movement rather than a defined curl.
Loosely pin each section into place to cool.
Why the large sections matter: The oversized set holds the shape of the blowout instead of creating a traditional curled finish, giving the hair lasting movement while keeping it light and airy.
Step 4: Let The Hair Cool Completely
Don’t rush the cool-down. Allowing the hair to fully set helps preserve the shape without sacrificing softness.
Keep the oversized sections loosely pinned until the hair has cooled completely.
Nikki let Emma’s hair set while she finished her makeup, spent time with her closest friends and enjoyed a celebratory glass of champagne.
Step 5: Brush Out and Finish
Once the hair has completely cooled, release the set and blend everything together to create the soft, flowing finish.
Remove the pins and brush through with a Mason Pearson Brush to blend everything into one seamless shape.
Mist with shine spray for a luminous, healthy-looking finish.
Apply a light veil of flexible-hold hairspray to lock in the style while preserving its natural movement.
See Nikki's BTS photos alongside makeup artist Kate Synnott (@katesynnottmakeup).
Nikki’s Advice For Your Bridal Clients
“When you’re creating bridal hair, every decision matters,” Nikki says. “It’s never about chasing trends. It’s about creating hair that feels elevated, effortless and authentic to the bride. It should be something she’ll love not only on her wedding day but every time she looks back at her wedding photos.”
For stylists, the takeaway is to start the bridal hair conversation early. Consider your client’s current color, hair health, desired wedding-day shade, extension needs and finished style together so every appointment leading up to the wedding is working toward the same result.
Get another look at Emma's stunning blonde at her final fitting with "Vogue":